
This article is about adding and editing activities in Aspire using the Admin tab. For information about scheduling and taking registers for activities, please click here.
Adding New Activities
Only users with Coordinator permissions can add new activities. To do this:
1. Go to Admin - Activities
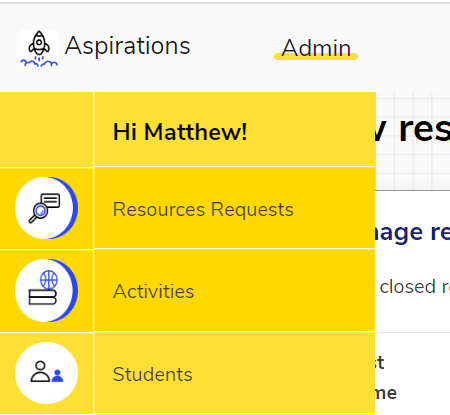
2. In the top right, click "Add Activity"
3. Fill out the details as shown below.
It is important to select the relevant Support Areas, as these are used to determine which activities are shown to students when they are completing their plans as being relevant to their focus areas. They are also used to help students see which skills they have developed when they look back at the end of each term.
"Classes" indicates the student groups you want to be invited to the activity, and setting a member of staff as a "Club Leader" gives them permissions to schedule sessions and take registers. You can appoint more than 1 club leader per activity.
NB - The "Title", "Description", "Days & Times", and "Location" fields are visible to students.
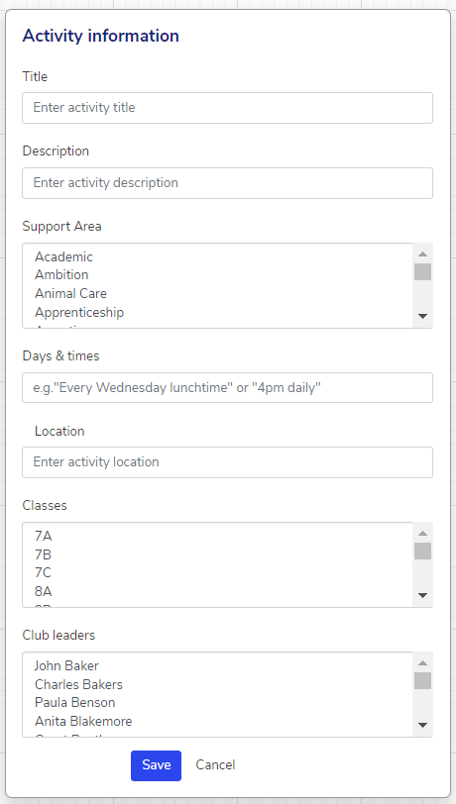
4. Click "Save".
Editing Activities
To edit an existing activity, go to Admin - Activities, and click on the pencil icon next to the activity you want to edit.
This will then open the "Activity Information" menu shown above. Once you've made the changes you need to make, just click "Save" again. Simple!
Deleting Activities
To delete an activity, go to Admin - Activities, and click on the bin icon next to the activity you want to delete. Please note that activity deletion is permanent, so you will be asked to confirm that you want to delete the activity.
We hope you've found this guide useful. If you have any issues with using Aspire, please don't hesitate to contact our support team.
Comments
0 comments
Please sign in to leave a comment.