
The Aspire app’s layout is made up of tabs and menus. Tabs run across the top of the page, while menus run along the left hand side.
Each tab has its own corresponding menu. The menu on the left will therefore appear different depending on the tab selected.

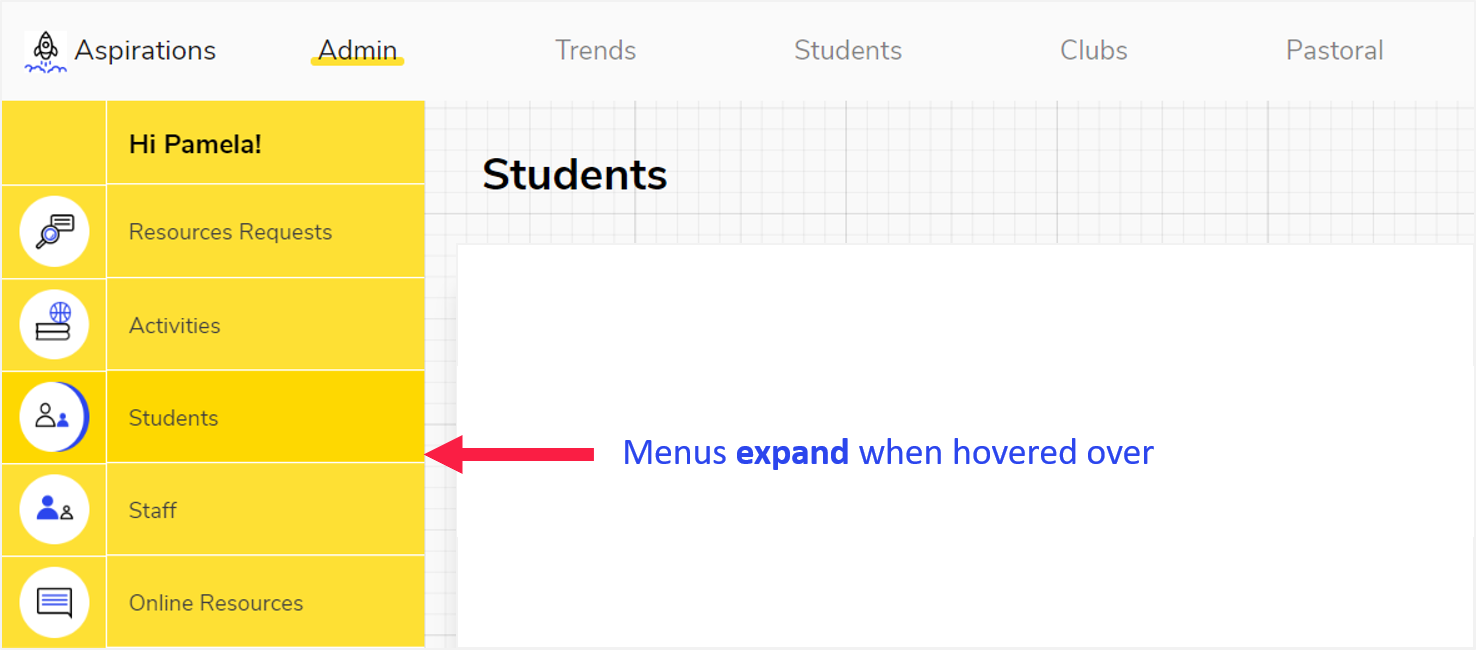
Menus appear as icons (shown above) until you hover over them, at which point they expand to show more information (shown below).
Depending on your role within the Aspiration programme, you might see some or all of the tabs listed below when you log into Aspire. Click on each tab name to learn more about what it does:
| Tab | Used by | Used for |
| Trends | Anyone with Tutor permissions | Viewing aggregated data from student responses |
| Students | Anyone with Tutor permissions | An overview of all students you're a tutor for |
| Clubs | Anyone who has been designated a Club Leader | Scheduling and recording registers for Clubs & Activities |
| Pastoral | Pastoral Leads | Viewing alerts and managing access to sensitive data |
| Admin | Coordinators/Aspirations Leads | User management, viewing resource requests, adding activities |
Note that tutor permissions are assigned at group level, so if you are a Form Tutor, you will likely only be a tutor for (and therefore be able to see data for) your form.
We hope you've found this guide useful. If you have any issues with using Aspire, please don't hesitate to contact our support team.
Comments
0 comments
Please sign in to leave a comment.